

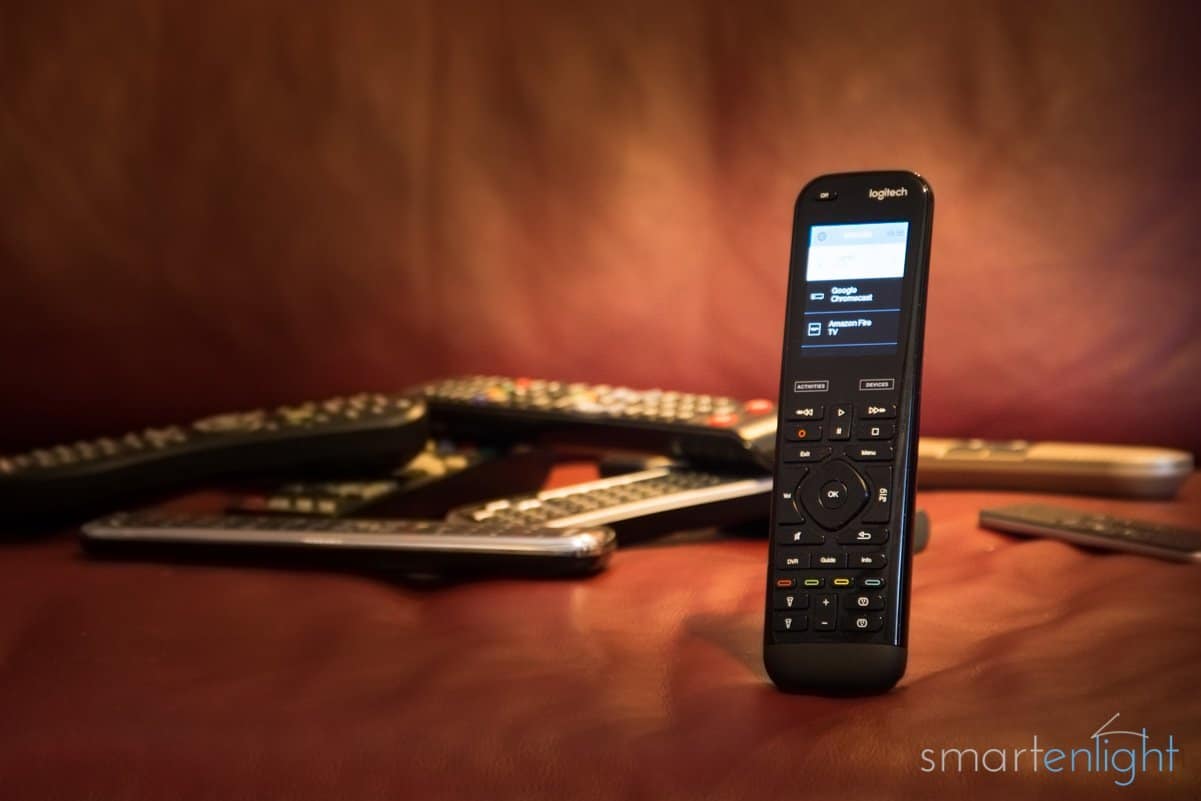
How many remote controls do you (have to) use?
How many times are you searching for one of them, only to find you need the other one? Switching input channels and turning devices on, on multiple remotes, every single time.
What if it would take you only one, single touch?
Or, if you prefer handsfree: “Alexa/Hey Google, turn on NBC”.
How easy would it be for the whole family? No need to learn multiple remotes and features.
And yes, your lighting can dim down when the movie starts, no additional remote or voice command required.
Welcome to Harmony
It comes as no surprise, that we find the Logitech Harmony Remotes under Logitech’s “smart home” product category. The Harmony product line serves as universal remote not only for your entertainment but also for some of your smart home devices.
If you want to briefly jump back in time and check out the exciting history of remote controls, see the post: Introduction to Smart Entertainment: A Very Brief History of Wireless Remote Controls.
In this post, we will look into setting up and configuring our Logitech Harmony remote to control all of our devices at once, with only one touch. In the subsequent assistant posts, we will enable the integration with Google Assistant and Alexa to be able to control all our devices with voice commands.
Sorry, no Siri here (yet), unless you check out some Raspberry Pi projects, more on this in future posts.
Who is Logitech?

Based in Switzerland, Lausanne and California, Newark, Logitech has become a major provider of PC and mobile accessories. Logitech offers speakers and cams, mice and keyboards, headsets and it’s currently fastest growing segment, gaming accessories.
The Harmony has a long history going back to 2001. Originally created by the Canadian company Easy Zapper, which got acquired by Logitech in 2004.
Logitech recently received public attention, when trying to discontinue the support of the Harmony Link, the predecessor of the Harmony Hub. Logitech received so much attention, that it decided to replace all Harmony Links with Harmony Hubs, free of charge.
Logitech Harmony Product Line
The current lineup consists of the bundles Harmony Ultimate, Harmony Elite and Harmony Companion. The Hub and the Harmony 950 (the remote from the Elite bundle) can be separately purchased.
Our personal Harmony journey started with the Harmony One back in 2010. We upgraded to Harmony Ultimate and Hub in 2015, got another Hub in 2016 and recently upgraded to Harmony Elite with Hub.
So, what’s a Hub?

You might be used to remote controls, but what is a Hub in this context?
- The Hub supports additionally to infrared (IR), also Bluetooth and Wi-Fi to control devices.
- The smartphone Harmony app, which turns your mobile into a remote control, connects to the Harmony Hub through your Wi-Fi.
- A Hub is required if you would like to link smart home devices, like Philips Hue.
- Since the app uses Wi-Fi and the remotes use radio frequency (RF) to connect to the Hub, you don’t need to point your remote at your devices. The Hub could be placed inside closed cabinets, so you can even hide all your devices. It has 2 wired IR Mini-Blaster so you can reach different parts of your cabinet from your hub.
- And last, but definitely not least: if you want Alexa and/or Google Assistant support, you need the Hub.
What’s the difference between the Harmony remote models?
The Logitech Harmony Companion features smart home buttons on top and a numeric pad on the bottom but lacks the touchscreen. It does not have any IR emitters itself and therefore works only via Hub. Up to 8 devices are supported.
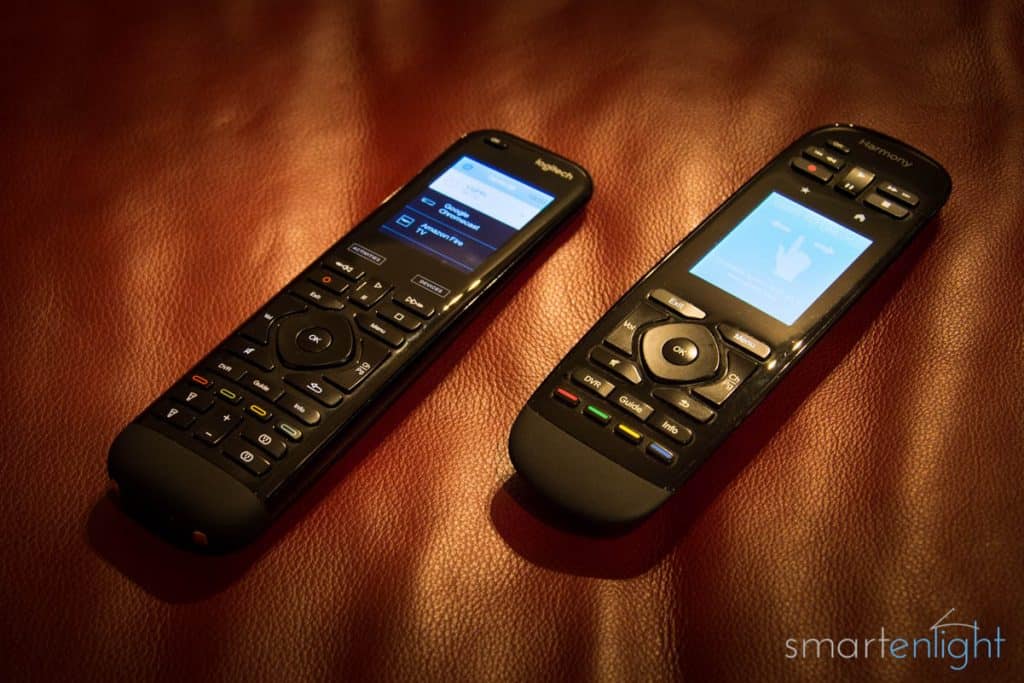
The Logitech Harmony Ultimate has media controls on top, features a touchscreen and lacks dedicated smart home controls. It supports up to 15 devices.
The Logitech Harmony Elite is the newest model, has the media controls below the touchscreen and has additional smart home controls on the bottom. The rechargeable battery can be user-replaced. It supports up to 15 devices.
The Gist of Harmony
There are certain concepts which are beneficial to understand before diving into the Logitech Harmony world.
Your Harmony Account: All your settings, from all your remotes (you can have up to 15) and Hubs are saved in your Logitech MyHarmony account. This not only helps to migrate from one model to another, it also makes it possible to connect your Harmony hub to Alexa and Google Assistant.
Logitech Harmony – Your Devices: You will start by adding your devices. These can be entertainment or smart home devices. Wi-Fi connected devices can only be found through the Harmony Hub. Some IR devices need to be manually added, by specifying the manufacturer and model number. You will be able to access all your devices commands anytime through the “devices” tab in the app and on the remote.
Logitech Harmony – Your Activities: An Activity is the core concept of Harmony. There can be only one activity active. Activities consist of startup and shutdown commands for all devices grouped into an activity. Startup commands usually power up all the devices needed and set the correct inputs, while shutdown commands take care of powering off your devices. When you switch the activity, Harmony will keep the devices still required turned on.
Note, your devices might be configured for HDMI CEC. You may need to deactivate this feature since it interferes with Harmony’s Activity concept.
Automatic Mapping of Remote Buttons: Logitech suggests some activity types, like “Watch TV” based on your devices and then automatically maps the correct device commands to your remote control. Your volume control buttons will be mapped to your AVR, media buttons like pause, play, record, etc to your satellite/cable box, and so on.
Are your devices supported? With over 270.000 devices supported, chances are high, that yours are supported as well. You can query Logitech Harmonys Compatibility Database here (scroll down for smart home devices). If your IR controlled device is missing, there is an option to “learn” IR commands from your original remote control. We will look in detail at this feature in future posts.
Preparation
IR needs line of sight. Place your hub inside the cabinet, close to your devices. Use one IR mini blaster to reach additional devices inside and place one on top of the cabinet to reach your TV or any device on top if it. Once your hub is plugged in, it needs half a minute to boot up. Power the charging station and put your remote in.
From here on, we will use our Harmony mobile app to configure our remote and Hub.
Logitech Harmony Setup
1. Connecting and creating Your Harmony Account

The initial setup process is lengthy but straightforward. We start by selecting to “set up a new hub”. We pick our Wi-Fi network and enter our Wi-Fi password. Next, we need to create our Harmony account and verify it by e-mail.
Note, if you already have a Harmony remote and want its settings backed up, you can create a new Harmony account and import the devices and activities from your old remote.
2. Adding Wi-Fi Devices

The Harmony Hub will scan our Wi-Fi network for supported devices. Select the devices that you want to be assigned to this Hub. If you plan to add another hub/remote, for instance in your bedroom, exclude any Wi-Fi devices you would like to control from there.
3. Adding Missing Devices
Add any other (IR) entertainment devices, which are not connected via Wi-Fi, by entering the manufacturer and model number.
4. Adding and Grouping Home Control Devices
To add home control devices like Philips Hue, select the Home Control menu. Let the Hub search for the Philips Hue bridge and confirm by pressing the center button of your Hue bridge.

Now, we need to re-group our lights, since Philips Hue rooms are not imported. In the Harmony universe, one light can be part of many groups, which gives you the flexibility to address parts of your living room and the whole living room together.
Note, that at the end of the setup process, any of the groups you create now, can be mapped to one of the four Home Control remote buttons. You will be able to turn the groups on and off, as well as dim them with your Harmony Remote (Elite & Companion).
5. Creating our first Activity: “Watch TV”

Based on the devices you have added, you will see a different list of suggested activities. Especially when you are starting with Harmony, I’d recommend to use the suggested activities rather than creating your own custom activities, since they automatically map your devices most common commands to your remote control.
It depends on your entertainment setup, whether you listen to the sound of your TV, a soundbar or use an audio/video receiver (AVR) which serves as the center of your home theater system and connects your components providing surround audio. In our example, we pick the living room TV, cable box, and AVR. In the next step, we need to power on our devices with the Harmony app.

Now, we can set the input channels. Since the cable box connects via HDMI with the AVR Input “CBL/SAT” we select this channel along with the TVs input channel “HDMI 1” through which the AVR connects to the TV.

The next screen checks whether we see and hear what we expect, and finally, we can also adjust our home control devices, when we start and end an activity.
Let’s dim down the TV area by selecting Couch: Nightlight, but only after sunset.
A final test will turn off all devices and then re-start the activity.
Note, in case the devices do not behave as expected, Harmony might adapt device parameters in the background during the setup process. Just hang in until everything works.
6. Selecting our favorite Channels

In the next setup step, we can specify up to 50 favorite channels, which are imported (including icon) and displayed in the app and on the remote touchscreen.
7. Mapping the Home Control Buttons

Our final step is to map the home control groups created in step 4, to the home control buttons of our Harmony Remote. A short press will turn a group on, a long press will turn it off. The last group turned on via the home control buttons, can be dimmed using the rocker switch labeled with “+/-“.
Using your Logitech Harmony
Using your remote

With the touch buttons below the remote screen, we can swiftly switch between our “activities” and our “devices”. We can use the “devices” menu in case we occasionally want to control some device, which is not part of the current activity.

Let’s turn our “Watch TV” activity on. When something with our activities does not work as expected, we can select “Help” from the configuration menu, to have our Harmony try to fix the activity.
Dependent on which devices are used in an activity, you will find different pages on the remote control touchscreen. In our case, we can swipe between activities, favorites, a num pad, and a bunch of other commands. Commonly used commands are automatically mapped to the remote control buttons.
Using the app

Opening the Harmony app on a smartphone welcomes us also to our main screen: the Activities list. From here we can turn our activities on and off. Or we can access all commands of a device directly through the devices tab.
As soon as an activity is turned on, we see the controls which belong to the activity from all the devices involved, usually with multiple pages, we can swipe through. The bottom menu of our app features a question mark, which offers fixing power on and input switching anomalies and editing the currently active activity. Next to it, we find an innovative touch screen input to control our devices with one and two finger gestures. And finally, a button to return to the control pages.
Using the Harmony app on a tablet, it shows us an optimized layout, with activities and devices accessible from one screen.

Tuning your Logitech Harmony
So far, we have only used the basic features of the Logitech Harmony. In this section we will spot the “hidden” configuration options we might need to fine-tune our devices and activities.
Customizing Devices

Through the “burger” menu top left on our app, we can find the Harmony Setup menu. When we tap “Add/Edit Devices and Activities”, we can find an extensive menu of configuration options.
Looking into the “devices” list, we can find following device dependent options:
- Add/Fix Command: for fixing/configuring specific device commands of one device.
- Fix Delay: with four different delay settings (some devices need some time to process one command before another can be executed).
- Power settings: We might add devices to activities, which we do not want to power off when switching activities.
- Input Settings: Some devices offer different ways to switch between input channels. A list, a toggle, or direct commands.
- Command repeats: some devices might need a repeated IR signal to react (quicker).
- Device Versions: Some devices offer multiple “IR languages”, here you can specify your version.
Customizing Activities
Back to our “Add/Edit Devices and Activities” menu, let’s tap the activities and have quick look at our “Watch TV” activity.
1. Edit Start Sequence

This option offers us to add additional steps/delays to our activity. Here is an example of a custom “Netflix” activity running on Apple TV. The added steps switch to the Apple TV home screen, pause (the Apple TV needs some time to digest the commands), then go two apps down and hit the select to start the Apple TV Netflix app.
Note, you could of course also add a “Netflix” activity via a Smart TV input channel or Fire TV stick, etc. this is just an example of how to customize activities to your liking. The trick here is to make sure you find a stable starting point for navigation commands, so your activities have the same reference point when they start (“Home”, “Back” for Apple TV).
We can also edit home controls to specify what our smart home devices should do when we start an activity. For instance dimming our Hue lights, by switching to a predefined Hue scene.
2. Edit End Sequence:
This menu lets us specify additional steps/delays when an activity is turned off and configuring related home control commands.
3. Customize Remote
This powerful option displays us a picture of every remote control button. We can tap a button and customize for every activity, which of our devices should receive which command or sequence of commands.
4. Schedule
You can program any activity to start and to end at a certain time or at sunrise/sunset, on specific weekdays.
5. (Soft) Keyboard
In case you have devices which support text input for browsing/searching, you can add your Harmony Hub as a bluetooth keyboard to your device. This will offer you a soft keyboard input from your Harmony app.
Customizing Remote & Hub

Configuring the Buttons
The “Harmony Setup”, “Add/Edit Devices and Activities” hides under the menu “Remote & Hub” another access to customize your remote buttons. Here you can configure your home control buttons, activity control buttons and device control buttons for long/short press as well as create command sequences.
Adding a Second Hub
Adding a second hub/remote to your Harmony account is as easy as installing your first one. Remember, you can specify some other Harmony account to copy existing remote configurations like devices and activities from.
Through the “burger” menu, top left in your app you can switch between the Hubs you would like to control.
Note, multiple Harmony Hubs are not supported by Alexa and Google Assistant. We will look into workarounds for our upcoming assistant posts.
Troubleshooting & Final Tips
Logitech provides an extensive Harmony Knowledge Base, a community forum, and e-mail support.
There seem to be different opinions on whether to use the desktop Harmony app or the mobile one. To me, it seems a personal preference, since both apps offer similar functionality (and I don’t like the slow Silverlight based Mac desktop app).
Conclusion
No wonder it took me so long to write up this post, Logitech Harmony offers many features. The setup process is straightforward for common activities, the app guides you nicely through setting up your devices and activities and testing them. The complex features are well hidden from beginners, the customization options are extensive.
Is it worth to upgrade from Ultimate to Elite? Some like the new Elite remote layout with the touchscreen on top, for me it’s the Home Control buttons. Though I am not excited about the Philips Hue integration, which seems quite slow when controlling many lights, having the Philips Hue scenes available is a big help during configuration. Missing HomeKit/Siri support is disappointing.
To sum it up: the Logitech Harmony remotes bring harmony to your devices. It takes time to configure them properly, but this time is well spent. Once working, it’s going to be a single touch to control your entertainment and (parts of your) smart home setup.
Hope you’ve enjoyed the post!
In the assistant posts we look into the setup of Google Home and Alexa to speech enable our Logitech Harmony:
- Logitech Harmony and Google Home: New Setup and Voice Commands
- Logitech Harmony and Alexa: Setup, Review and Voice Commands
In our Assistant Showdown with Logitech Harmony: Who will win, Alexa or Google? we will compare how well our assistants support our Logitech Harmony.
If you have any questions or would like to share your experience with Logitech Harmony, please leave your comment below.


